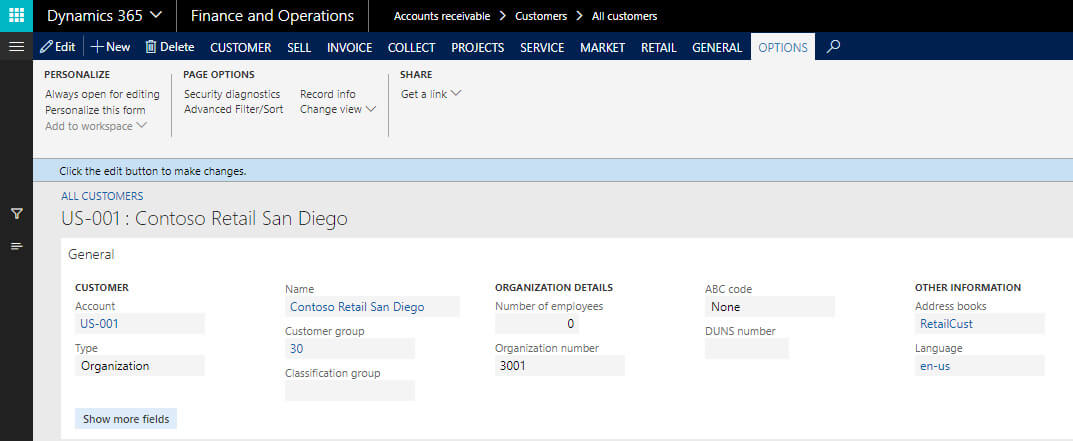
One of the interesting features of dynamics 365 for finance and operation is Personalization. There is a lot of advancement we can see as compared to the previous version of AX. If utilized fully, it can play the key role in satisfying user and gain their confidence. It looks different from AX 2012 and the way it is used is also different but the many changes have been done to make it more useful
This personalization is specific to the user and not apply to multiple users. This personalization can be done in two places in Dynamics 365
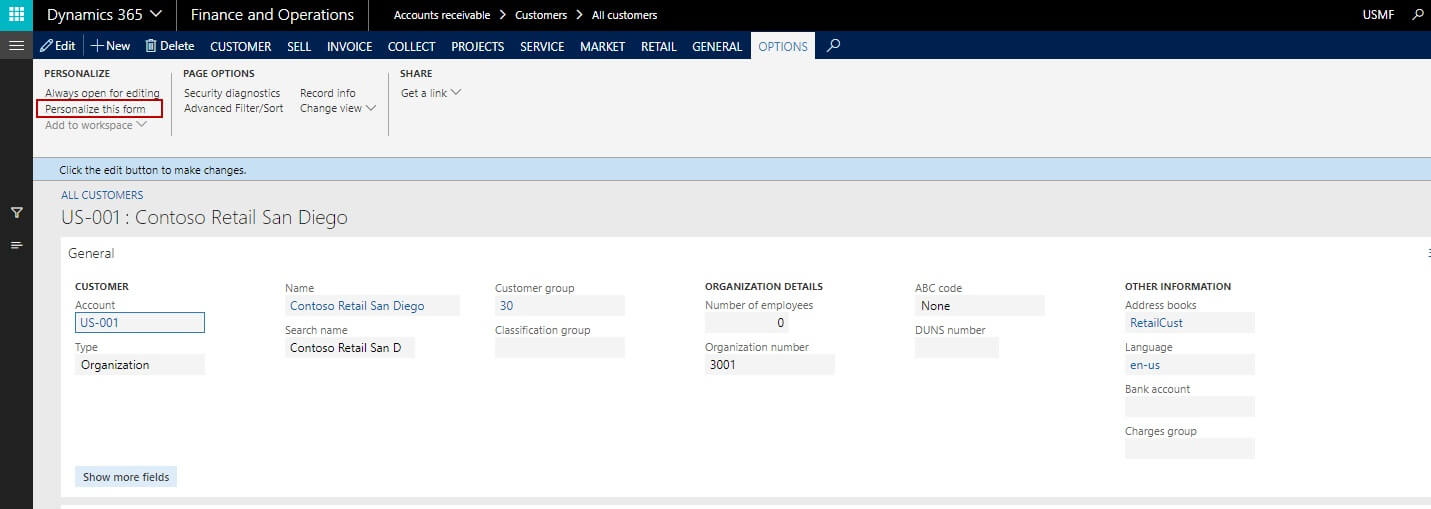
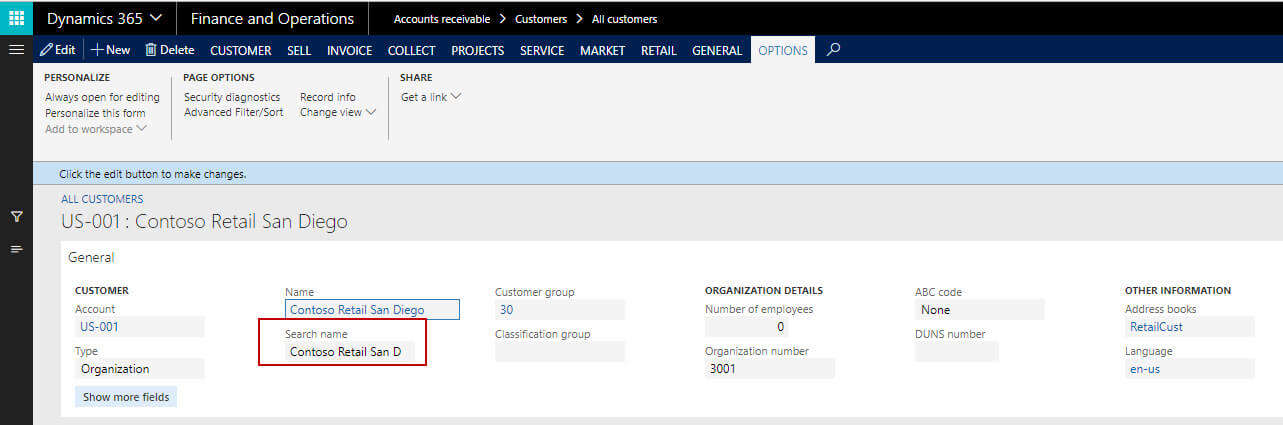
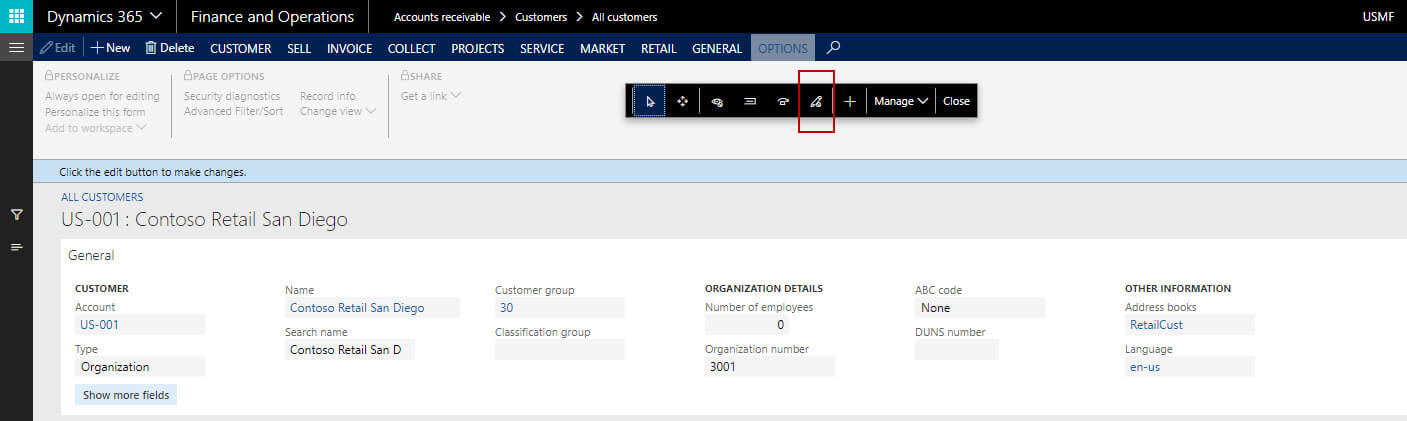
1. Go to any form → Options header menu → Personalize this form.
2. Go to any form→ right click on the field → click on Personalize→ Personalize this form
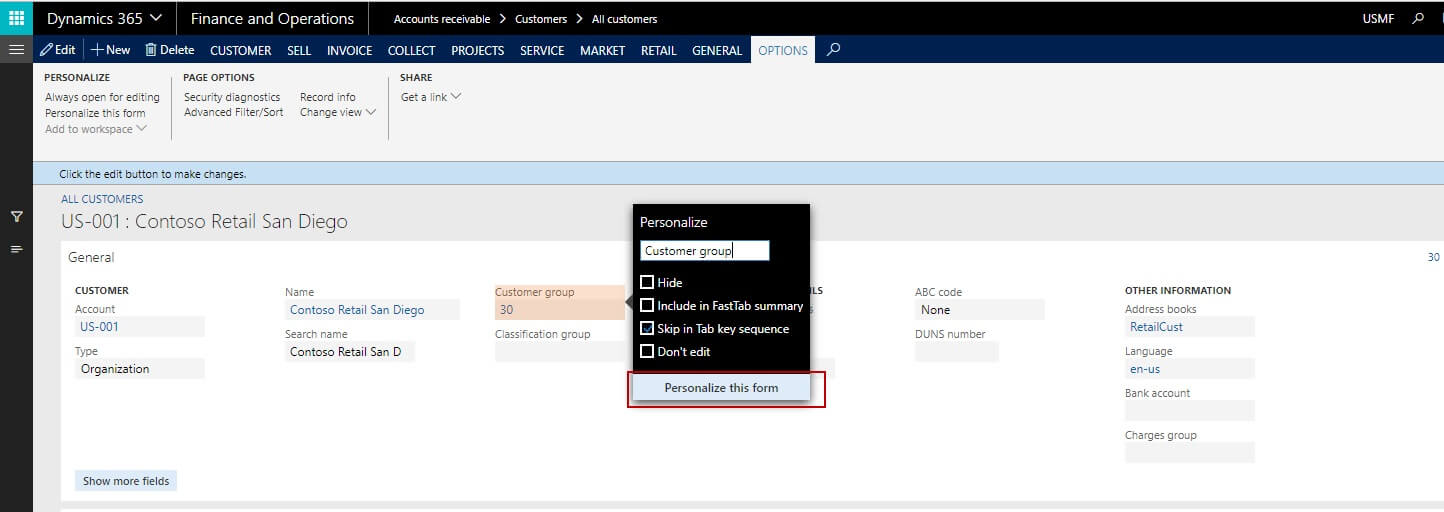
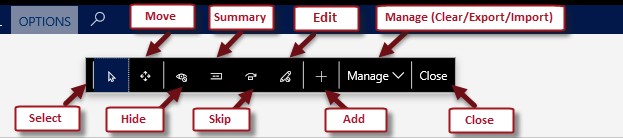
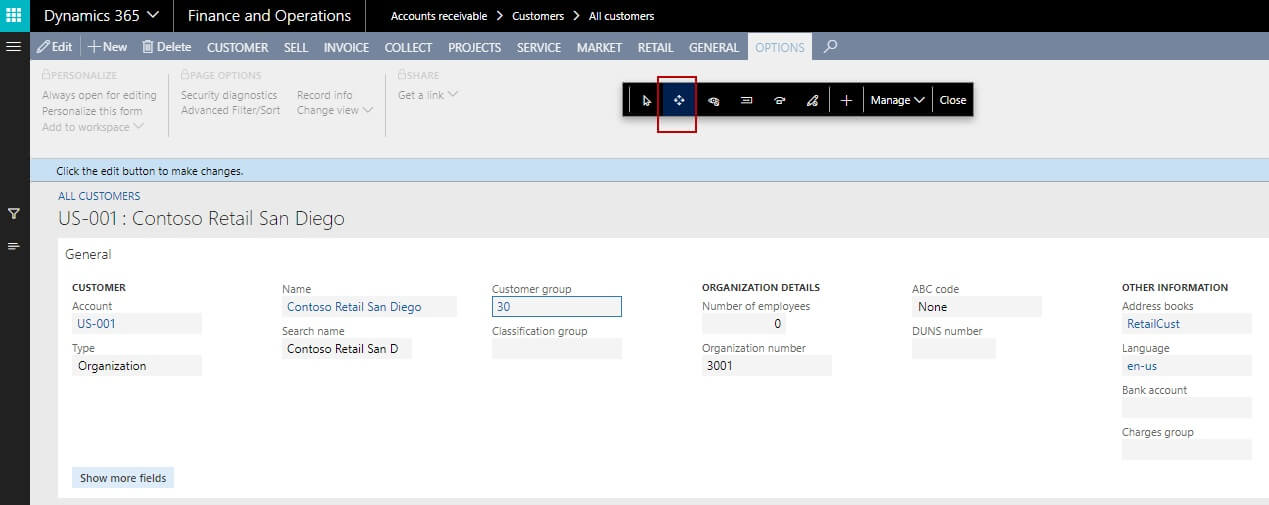
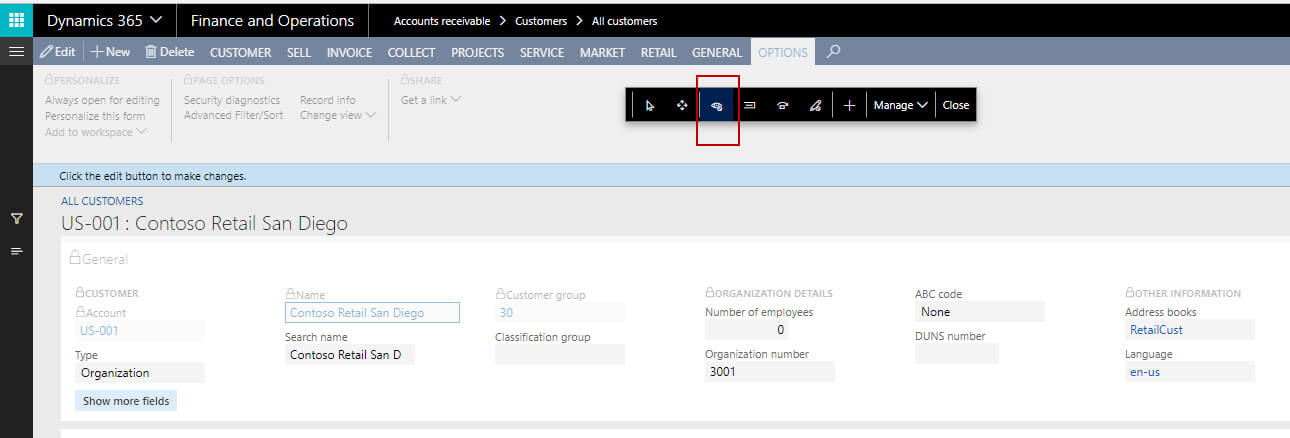
Once you select any of the options and click on ‘Personalize this form’, you can see below toolbar:
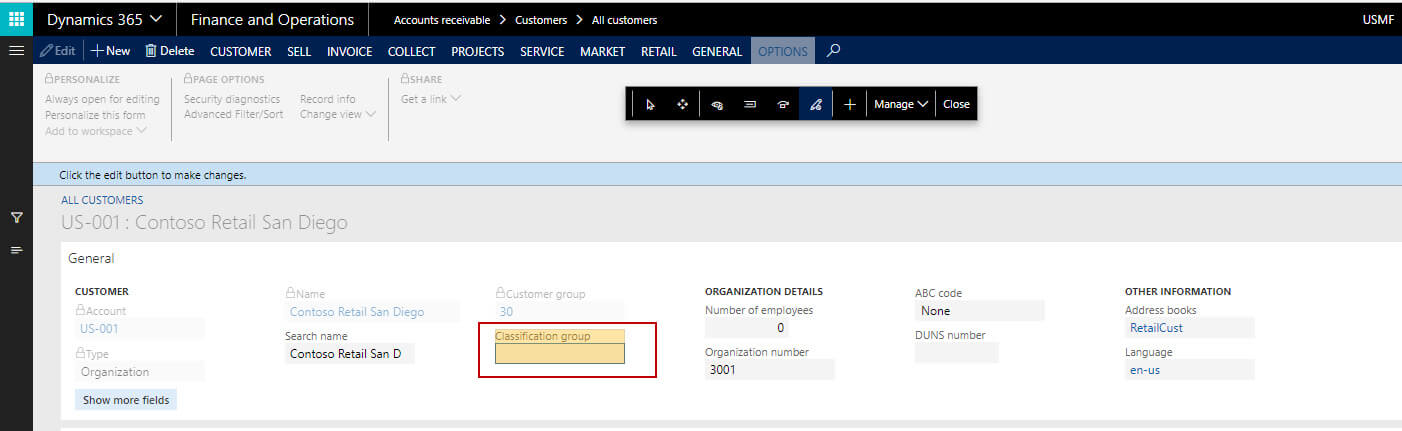
Select A. Right click on the field → Personalize→ Personalizes this form → Click on Select B. Click on the field that you want to personalize C. The field will highlight and you can see different personalization options
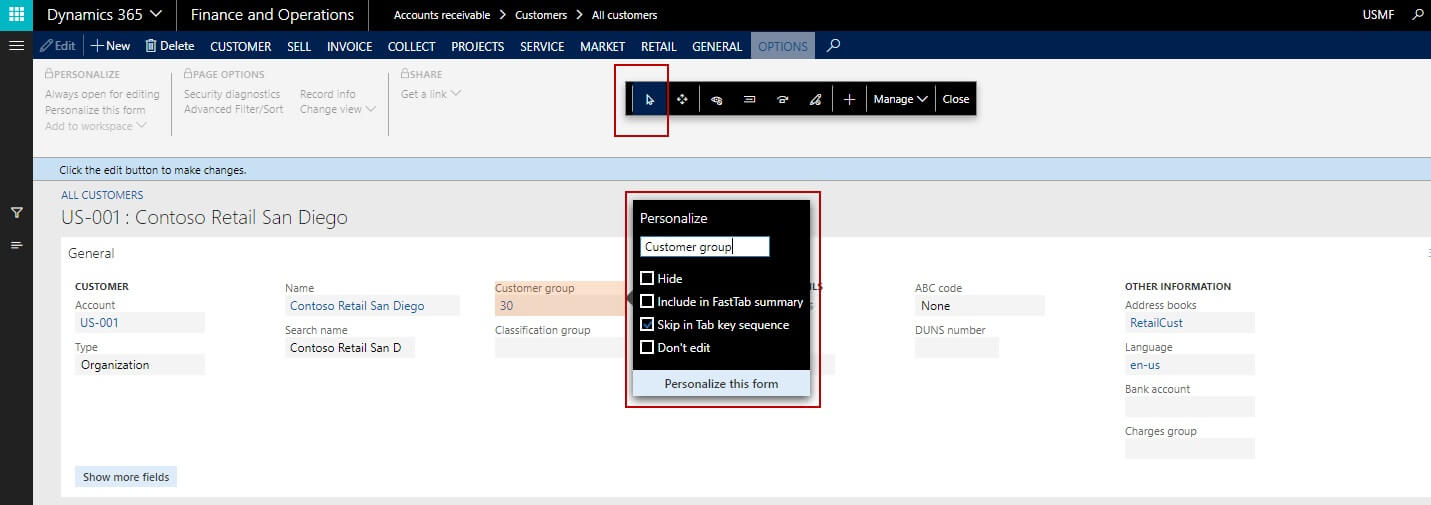
D. Now you can personalize the field as desired i.e. you can either change the name of the field, Hide that particular field, include it to Fast Tab summary or Skip in Tab key sequence. E. Once changes are done, click on Close to save the toolbar.
Move A. Click on Move button (Marked Red below) B. You will notice that the entire form will be shaded
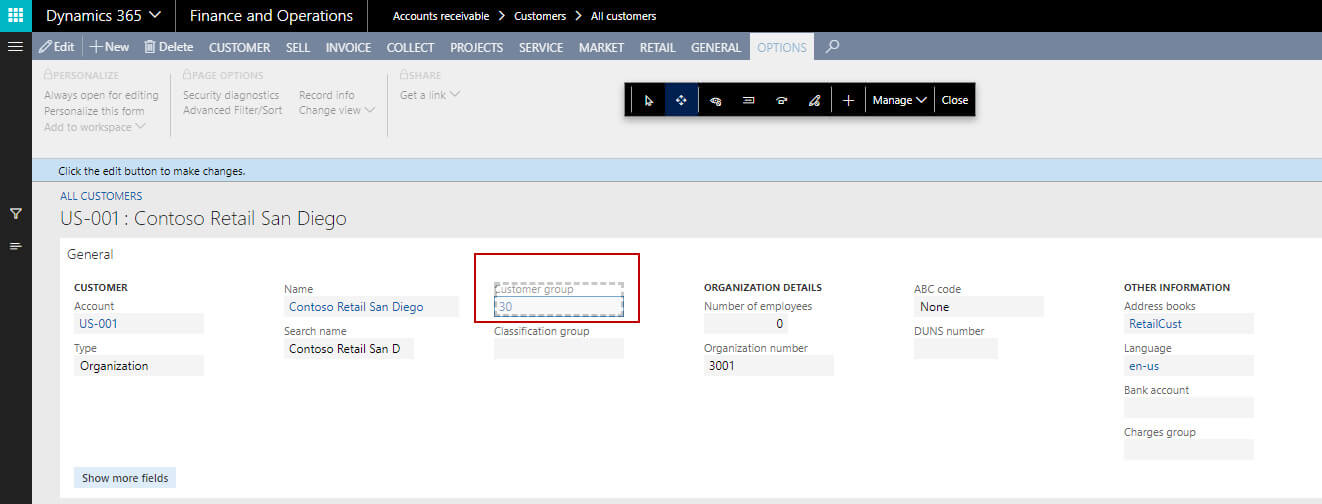
C. Now select the field which you want to move. A field will get highlighted as can be seen in below screenshot. Also, the same field will have dotted lines around.
D. Now try moving that field. You will notice that the system try to suggest you the best location to drop the field.
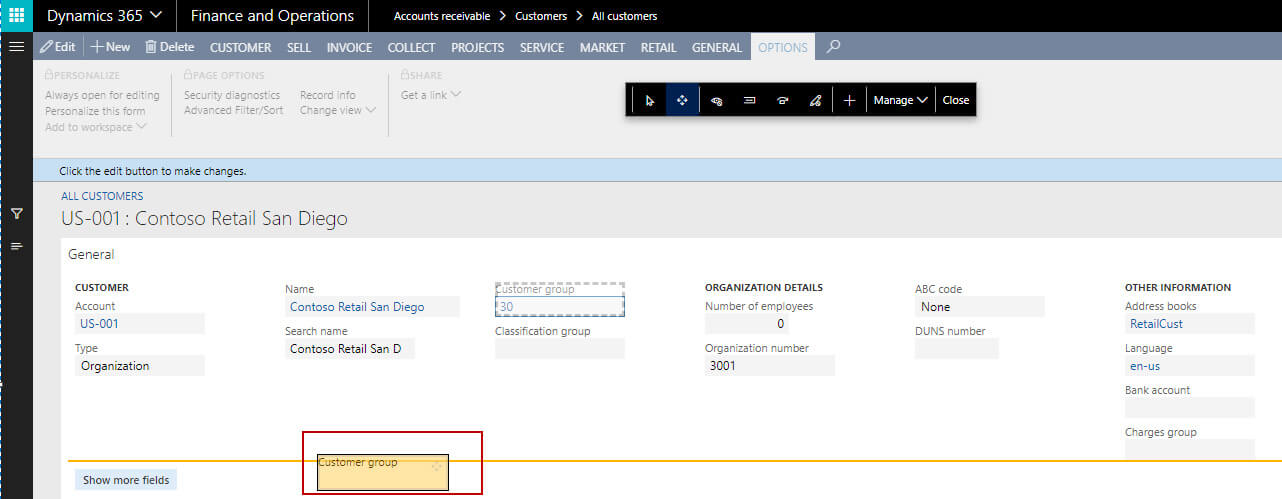
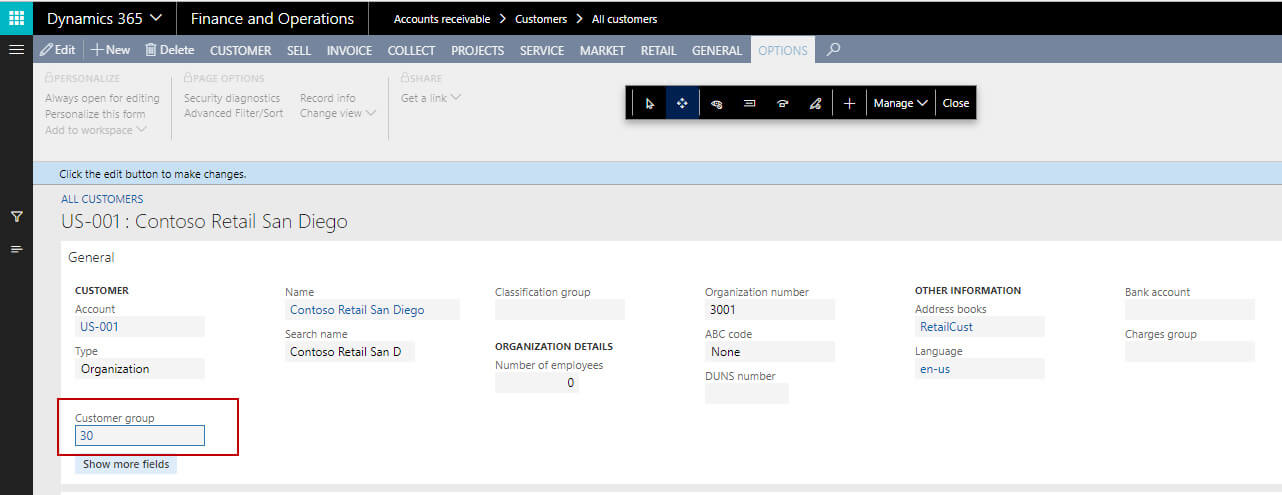
E. In this way, we can change move the field in the form.
F. Now close the toolbar to save the changes.
Hide A. Click on Hide option in the personalization toolbar
B. Select the field that you want to hide. The field will get highlighted.
C. Now click on close to close the personalize toolbar so that the field will be hidden. You can see from the below screenshot that the field is disabled after closing the personalization toolbar
D. Now if you want to unhide the fields which are hidden. Again go to personalization →Click on Hide →you will see that all those fields which are hidden are highlighted now.
E. Deselect the field which you want to unhide and click on close
F. You will now see that the field which was deselected are visible now.
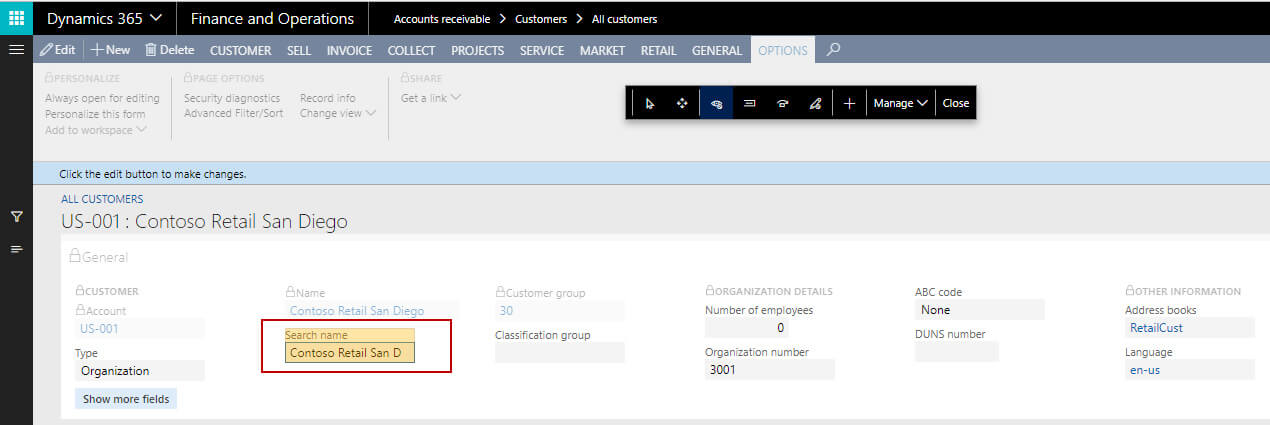
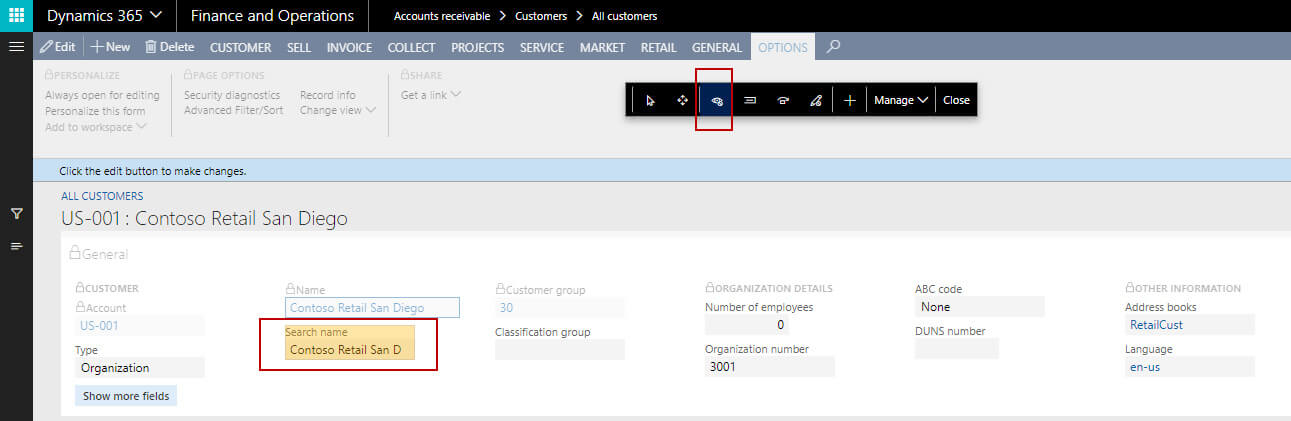
Summary A. Click on Summary in the personalize toolbar.
B. Now select the field that needs to summarize. The selected field will highlight.
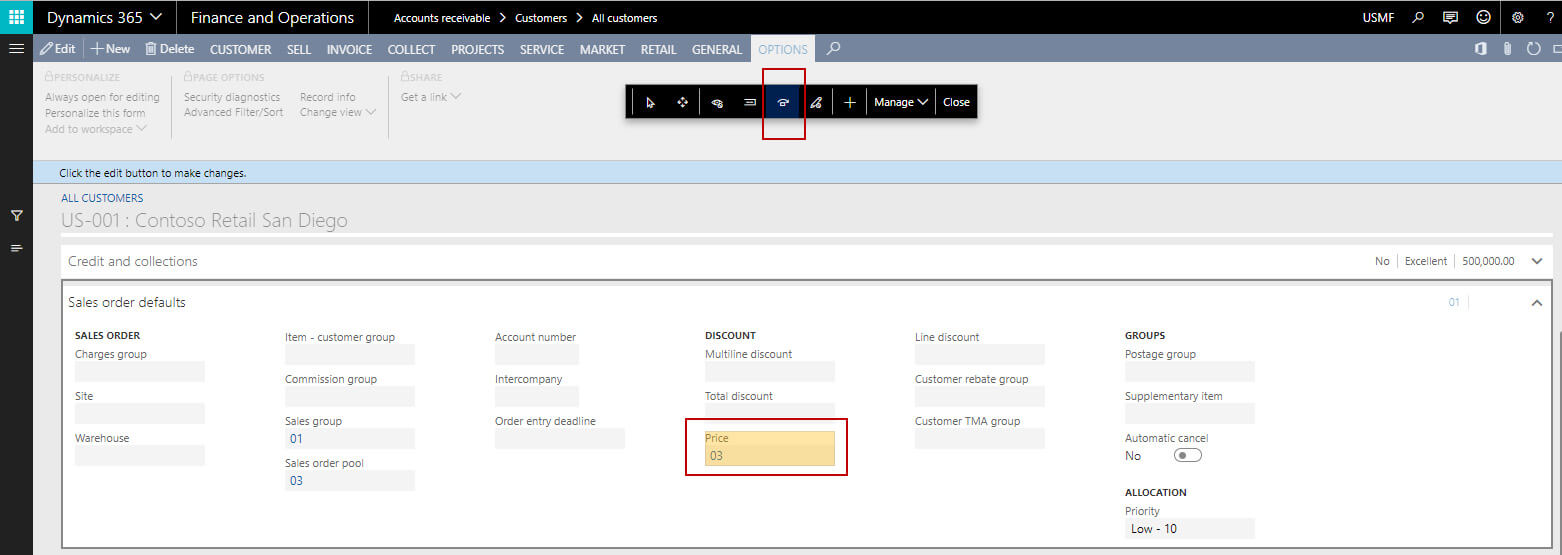
C. Now close the toolbar. Also in order for change to get reflected, close and reopen the form as well.
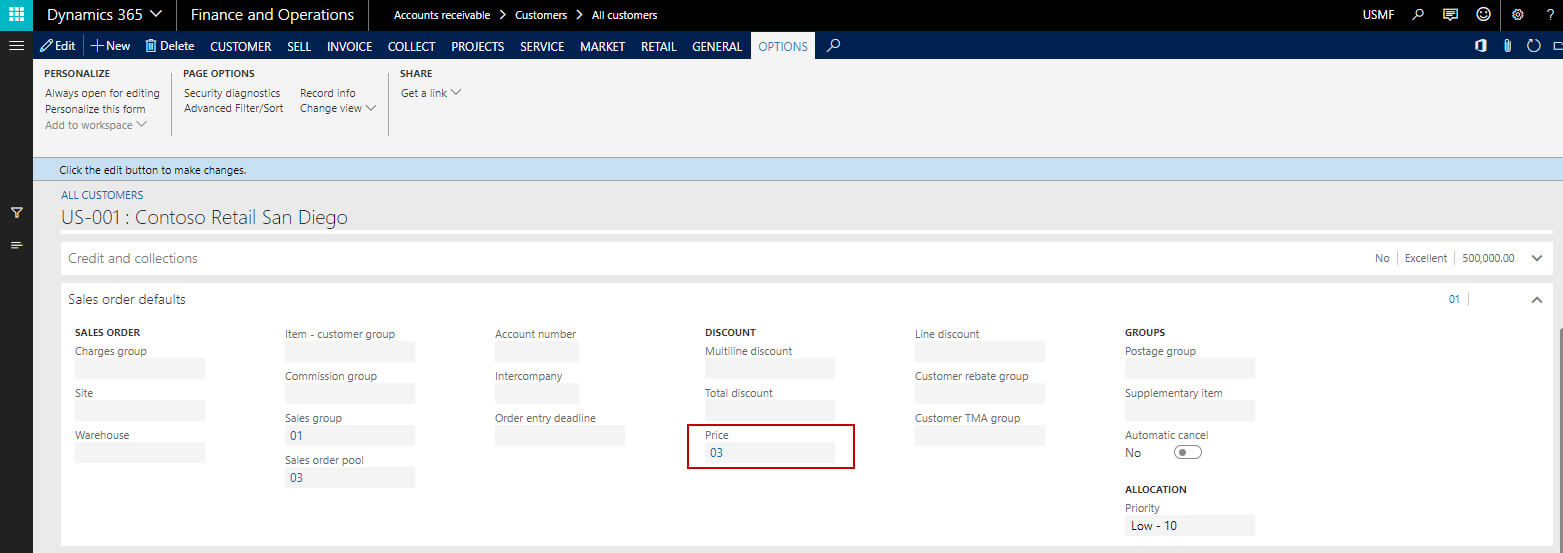
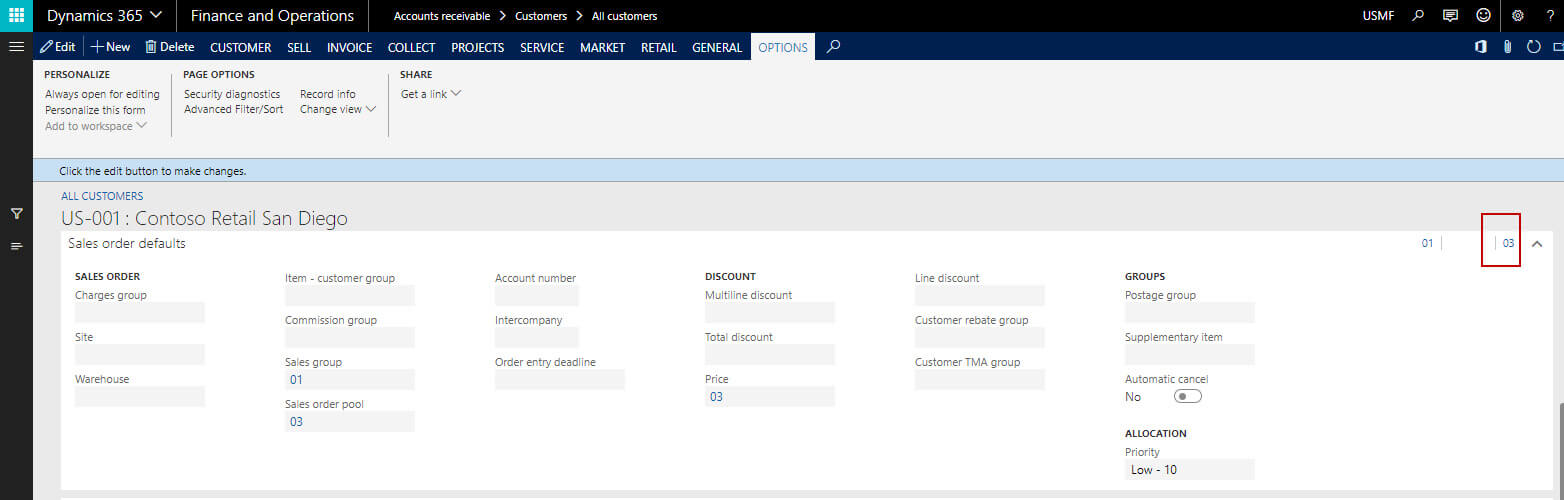
D. You can see the field “price” which are summarized are now visible in Fast Tab summary (Highlighted red below)
Skip A. It is nothing but skips the tab key sequences. When you want to skip the specific field when tabbing through the field in the form. This can facilitate data entry in some forms as the data entry person is not required to repeatedly tab through fields they do not need to edit. B. Click on Skip in personalize toolbar. The form appears shaded.
C. Select the field(s) which require to skip in tapping sequence. The field will highlight. Now select the option of Skip in Tab key sequence.

D. Now close the toolbar and the form as well so that too appears the changes correctly on the form
E. Now select any field and start tabbing through the fields, you will notice that the field(s) which are skipped are not in the sequence while tabbing.
Edit A. It will be used to make the field(s) editable from non-editable and visa-versa B. Click on Edit in personalize toolbar. The form appears shaded.
C. Select the field to make it non-editable. The field will highlight.
D. Now close the toolbar and also close and reopen the form as well to make changes appear.
E. Now open the form and click on Edit. You can see all other fields will be editable but the field selected is non-editable now.

F. Again if you want to make the same field editable then go again to the Edit in the toolbar and deselect the field to make editable. Also, close the toolbar and form to make the changes appear.
Add A. This is used to add any field(s) in the form. B. Right click on the form →personalizes →Personalize this form C. Click on Add in the personalize toolbar.
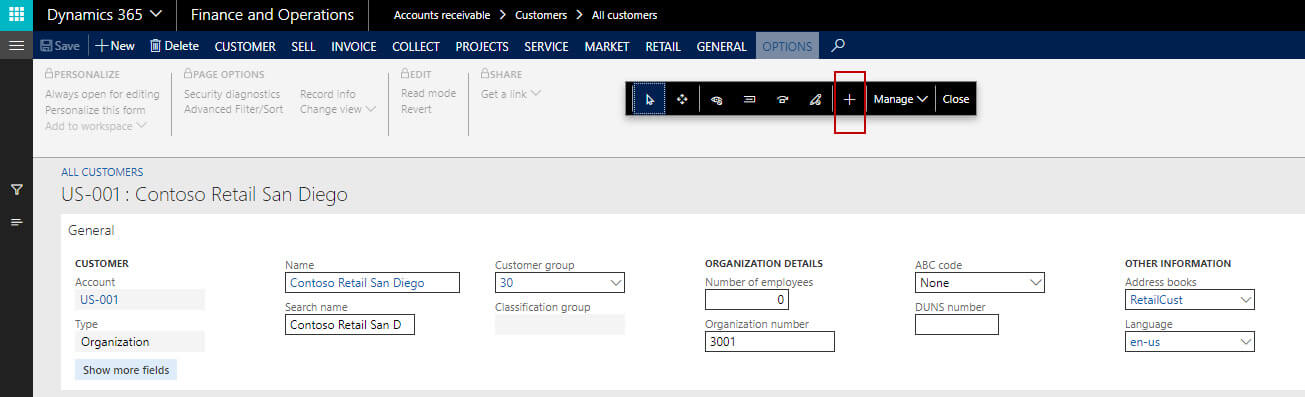
D. Click on the section of the form (for example on a grid or Fast Tab group) where you want the field(s) to be added
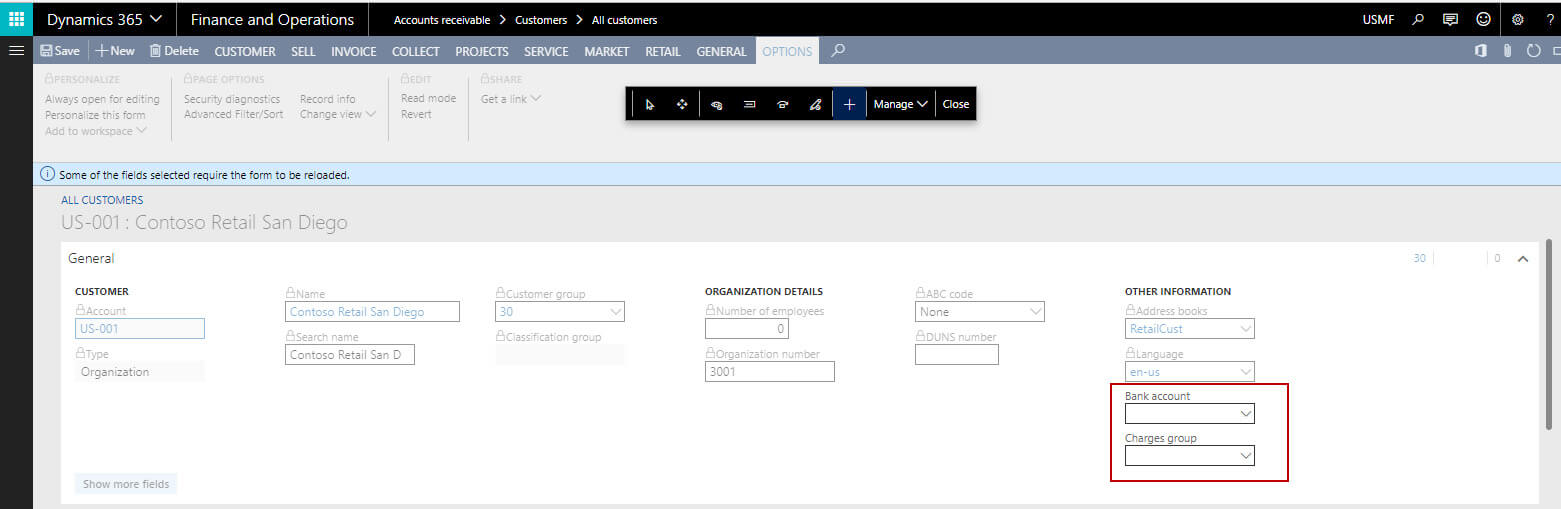
E. After clicking on the section of the page/form, a new form will launch to show the available fields to add.
F. Select the desired field(s) to add in the form group.
G. After selecting the field, click on Insert.

H. Now close the toolbar. You will see the selected field(s) will be added to form the group like below.
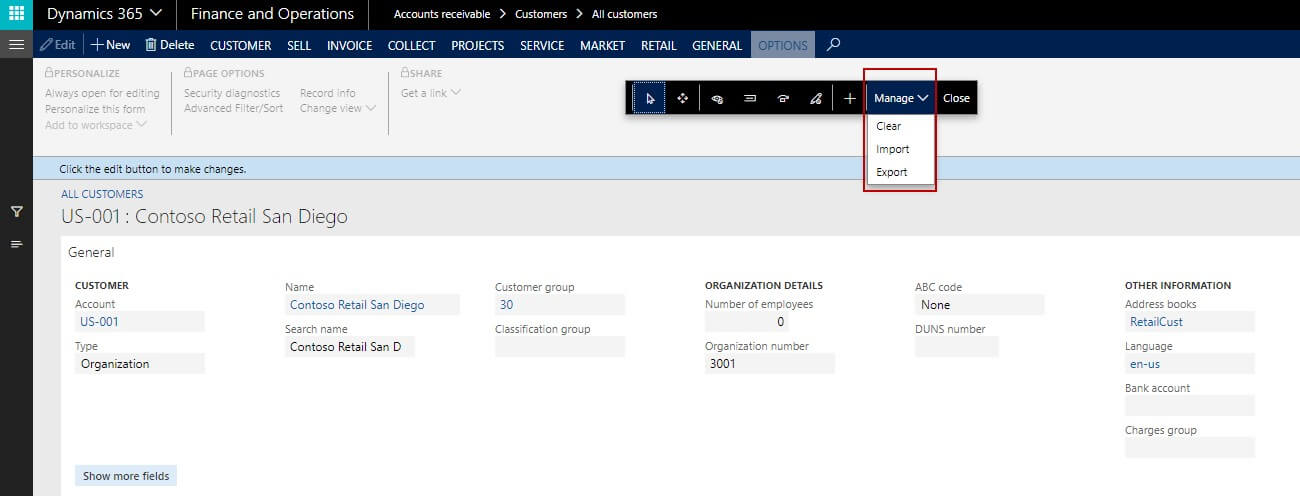
Manage It is used to clear any personalization setting or to import or export the personalization settings A. Right click on the form/Field → click on Personalize → Personalizes this form B. Click on Manage → you will see three options
1. Clear: it is used to clear the personalization currently available on the form
2. Import: It is used to import the file which has other user’s saved personalization. This is one of the interesting feature available in Dynamics 365 Services. It saves a lot of time for other users in setting up the personalization instead they can import the file so all personalization settings will be readily available
3. Export: It is used to save the personalization to a file for backup purpose or to be used by other users in the form of importing that file.
Final thought
This is a very interesting feature to use. Though it is different from previous AX versions it contains lots of advancement. It should be utilized fully as it will make work easier for customers and save a lot of time.