With Dynamics 365 Customer Engagement Apps, now we have mostly all the different aspects of user interfaces barring a few admin pages, already moved to the new Unified Interface from the Classic experience, there are certain features introduced that are specifically meant for the new Unified Interface and are not supported in the old legacy interface. Custom Help Panes is one such feature introduced specifically for Unified Interface which replaces the learning path guided help features used with dynamics 365 development solutions the legacy apps. With Custom Help Panes you can provide entity, its form as well as language-specific pages for the users.
To enable the custom help panes for your environment
From any model-driven app, select Settings Advanced Settings
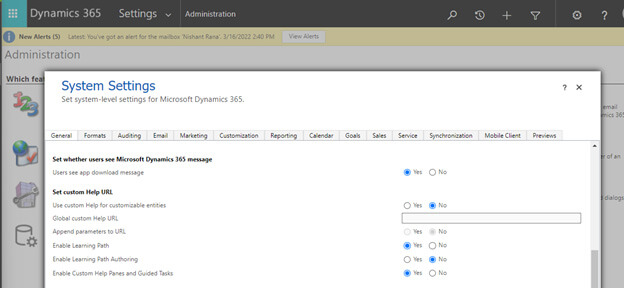
Navigate to Settings Administration System Settings

Scroll down in the General tab, and select Yes for Enable Custom Help Panes and Guided Tasks option.
After enabling the Custom Help Panes, to author the content you can click on the Help (Question symbol) on the command bar.

The Custom Help pane can be used to provide context help content for –
- Application
- Table
- Form
- Language
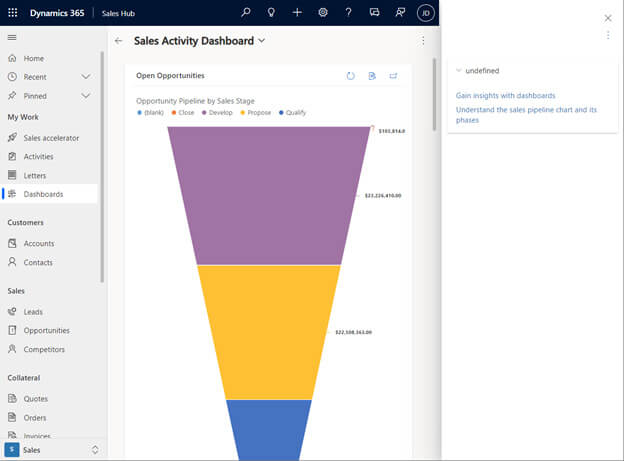
For example on selecting the Dashboards area in the apps, when you will click on Help, you can see the existing content on the right-side panel.
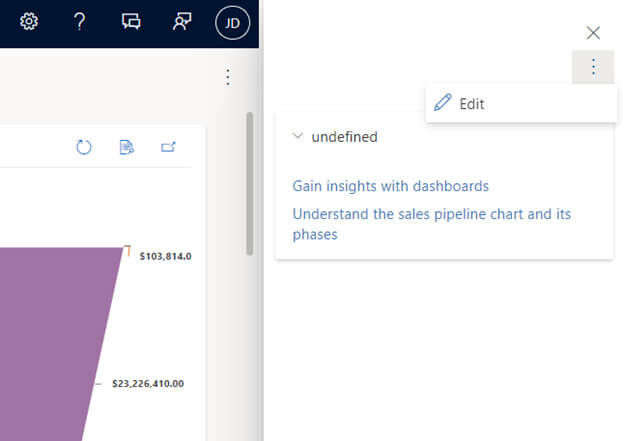
You can select Edit option to update the content.
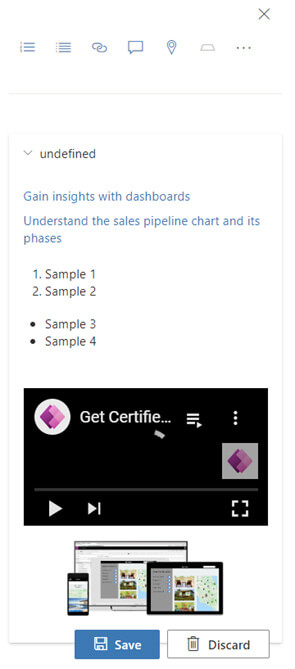
It allows you to add a
- Numbered List
- Bulleted List
- Insert Link
- Insert Ballon
- Insert Coachmark
- Insert Section
- Insert Image
- Insert Video
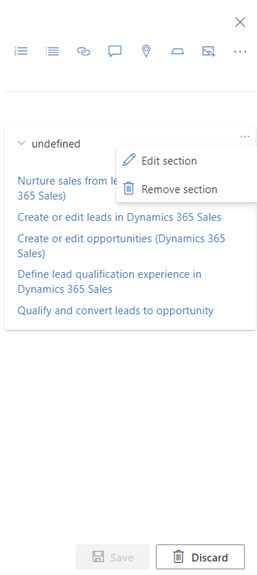
For an existing section, you can either edit or remove it.
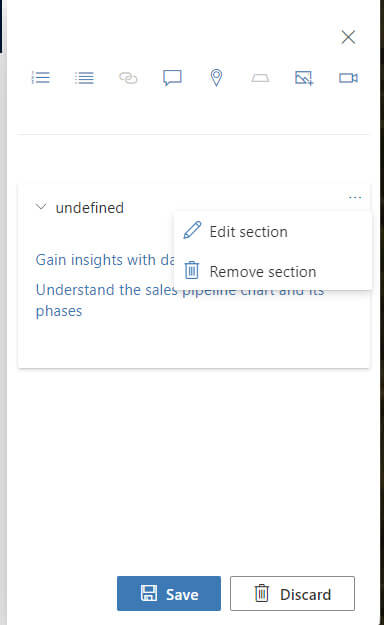
Below is how you can add a numbered and bullet list along with the image and video.
Click on Save to update the pane.
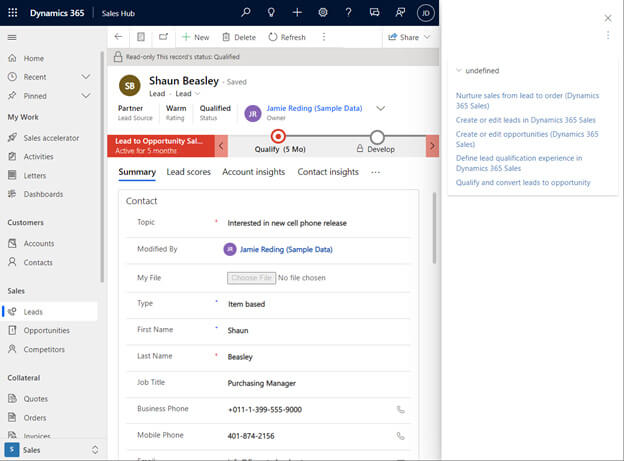
Let us now open one of the forms and see how the Contextual Help work there.
On opening an existing lead record and selecting Help, you will the below default content already available in the application.
You can edit the content the same way you saw earlier for the Dashboard.
You can use ballon to associate help content to a particular element in the user interface. Click on the Drag to an element option on the Help Pane and drag it over the Refresh option on the command bar and add the required details and click on Insert.
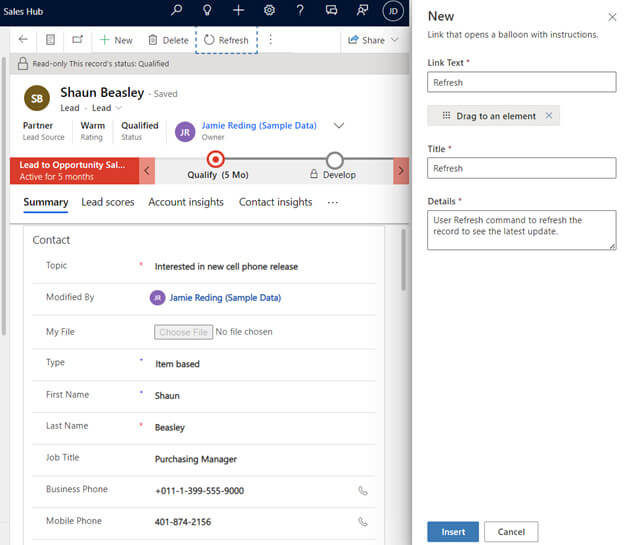
The user can now click on Refresh on the Help Pane and a balloon will show up next to the Refresh command with the details added.

Lastly, you can see the corresponding records of type Help pages are created for these help content, which you can include in the solution and can move to other environments.
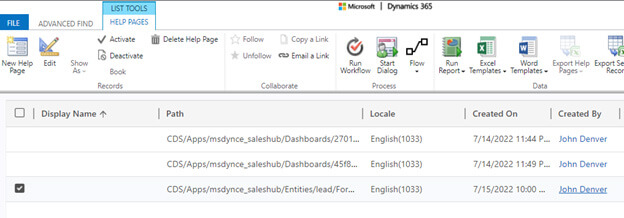
Below is the help page that was created for the Lead form when you had made the changes earlier

Thus we saw how easily we can create custom help pages and target different elements of the application, which can in turn increase user adaptability and make the users more productive and efficient while using the Dynamics 365 Apps.